
How to Cope with Imperfect Photo Reference
Lessons in seeing and trusting your knowledge
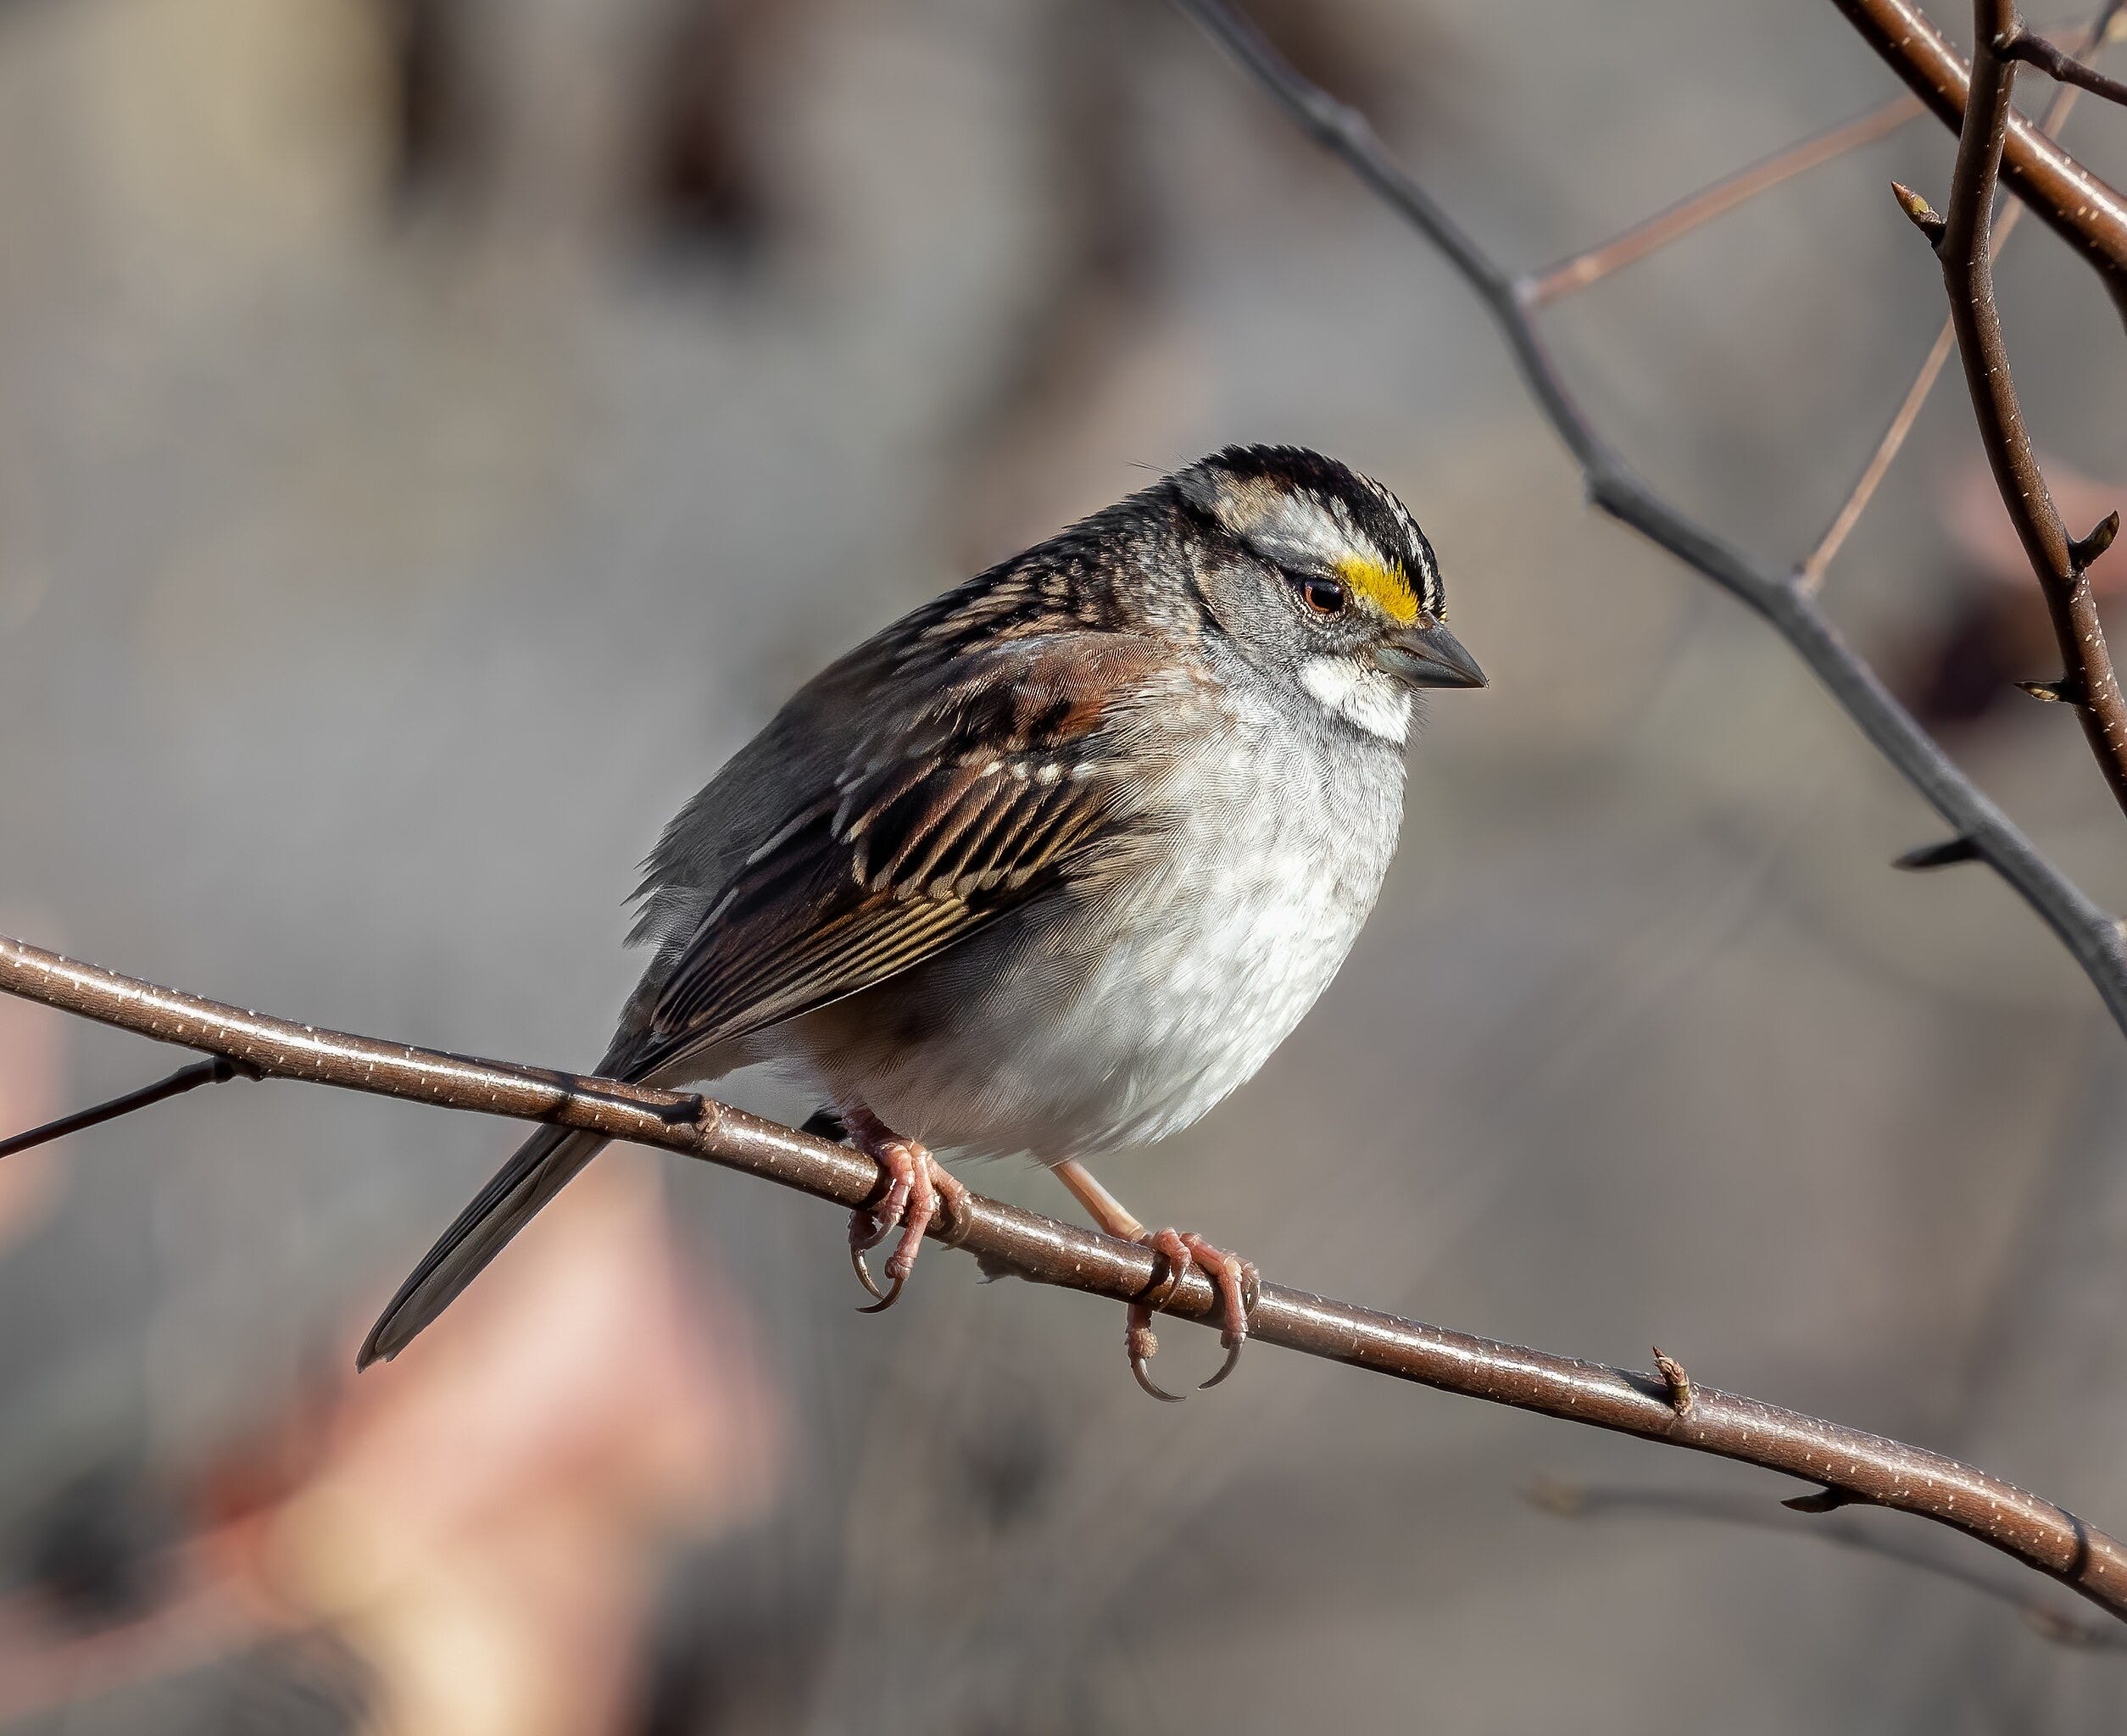
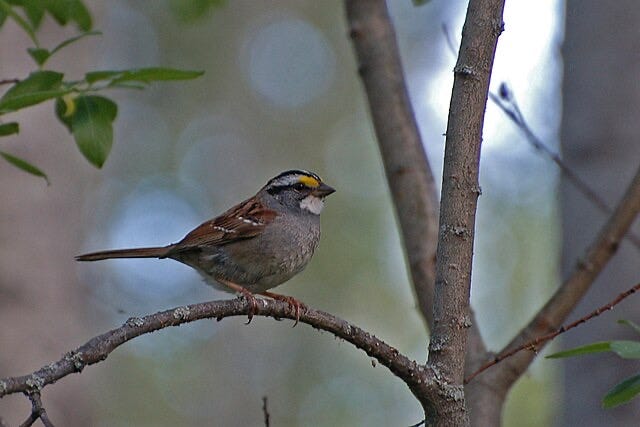
In recent lessons we’ve talked about choosing strong reference photos and studying a bird’s anatomy, from bill to foot. But what about the days when your photo is fuzzy, cropped, or missing body parts? This week’s lesson is about learning to see beyond the image so your knowledge, not just drawing from photos, leads the way. I’ll show you four images of White-throated Sparrows as a case study.
Learning to draw birds with confidence means learning to trust what you’ve studied. Even a fuzzy photo can become a doorway to artistic vision.
2.jpg)
Lesson One: Learn to See Beyond the Photo
.jpg)
There is no perfect photo. Often, bird photos are taken at a low F-stop and some portion of the bird will always be out of focus. In addition, photos are often taken in flat light, so the shadows that would give hints to volume are minimal or absent. And, naturally, parts of the bird are sometimes hidden or blurry that they can’t be used as reference at all.
The more I’ve learned about birds, especially bill, feathers, and feet, the less these problems bother me. By studying hundreds of species, I know what I’m looking for and what should be there. Whether it’s the position of a toe or the direction of feather growth, experience will help you make stronger choices in your bird art. You’ll recognize what you can trust and what you need to reconstruct.
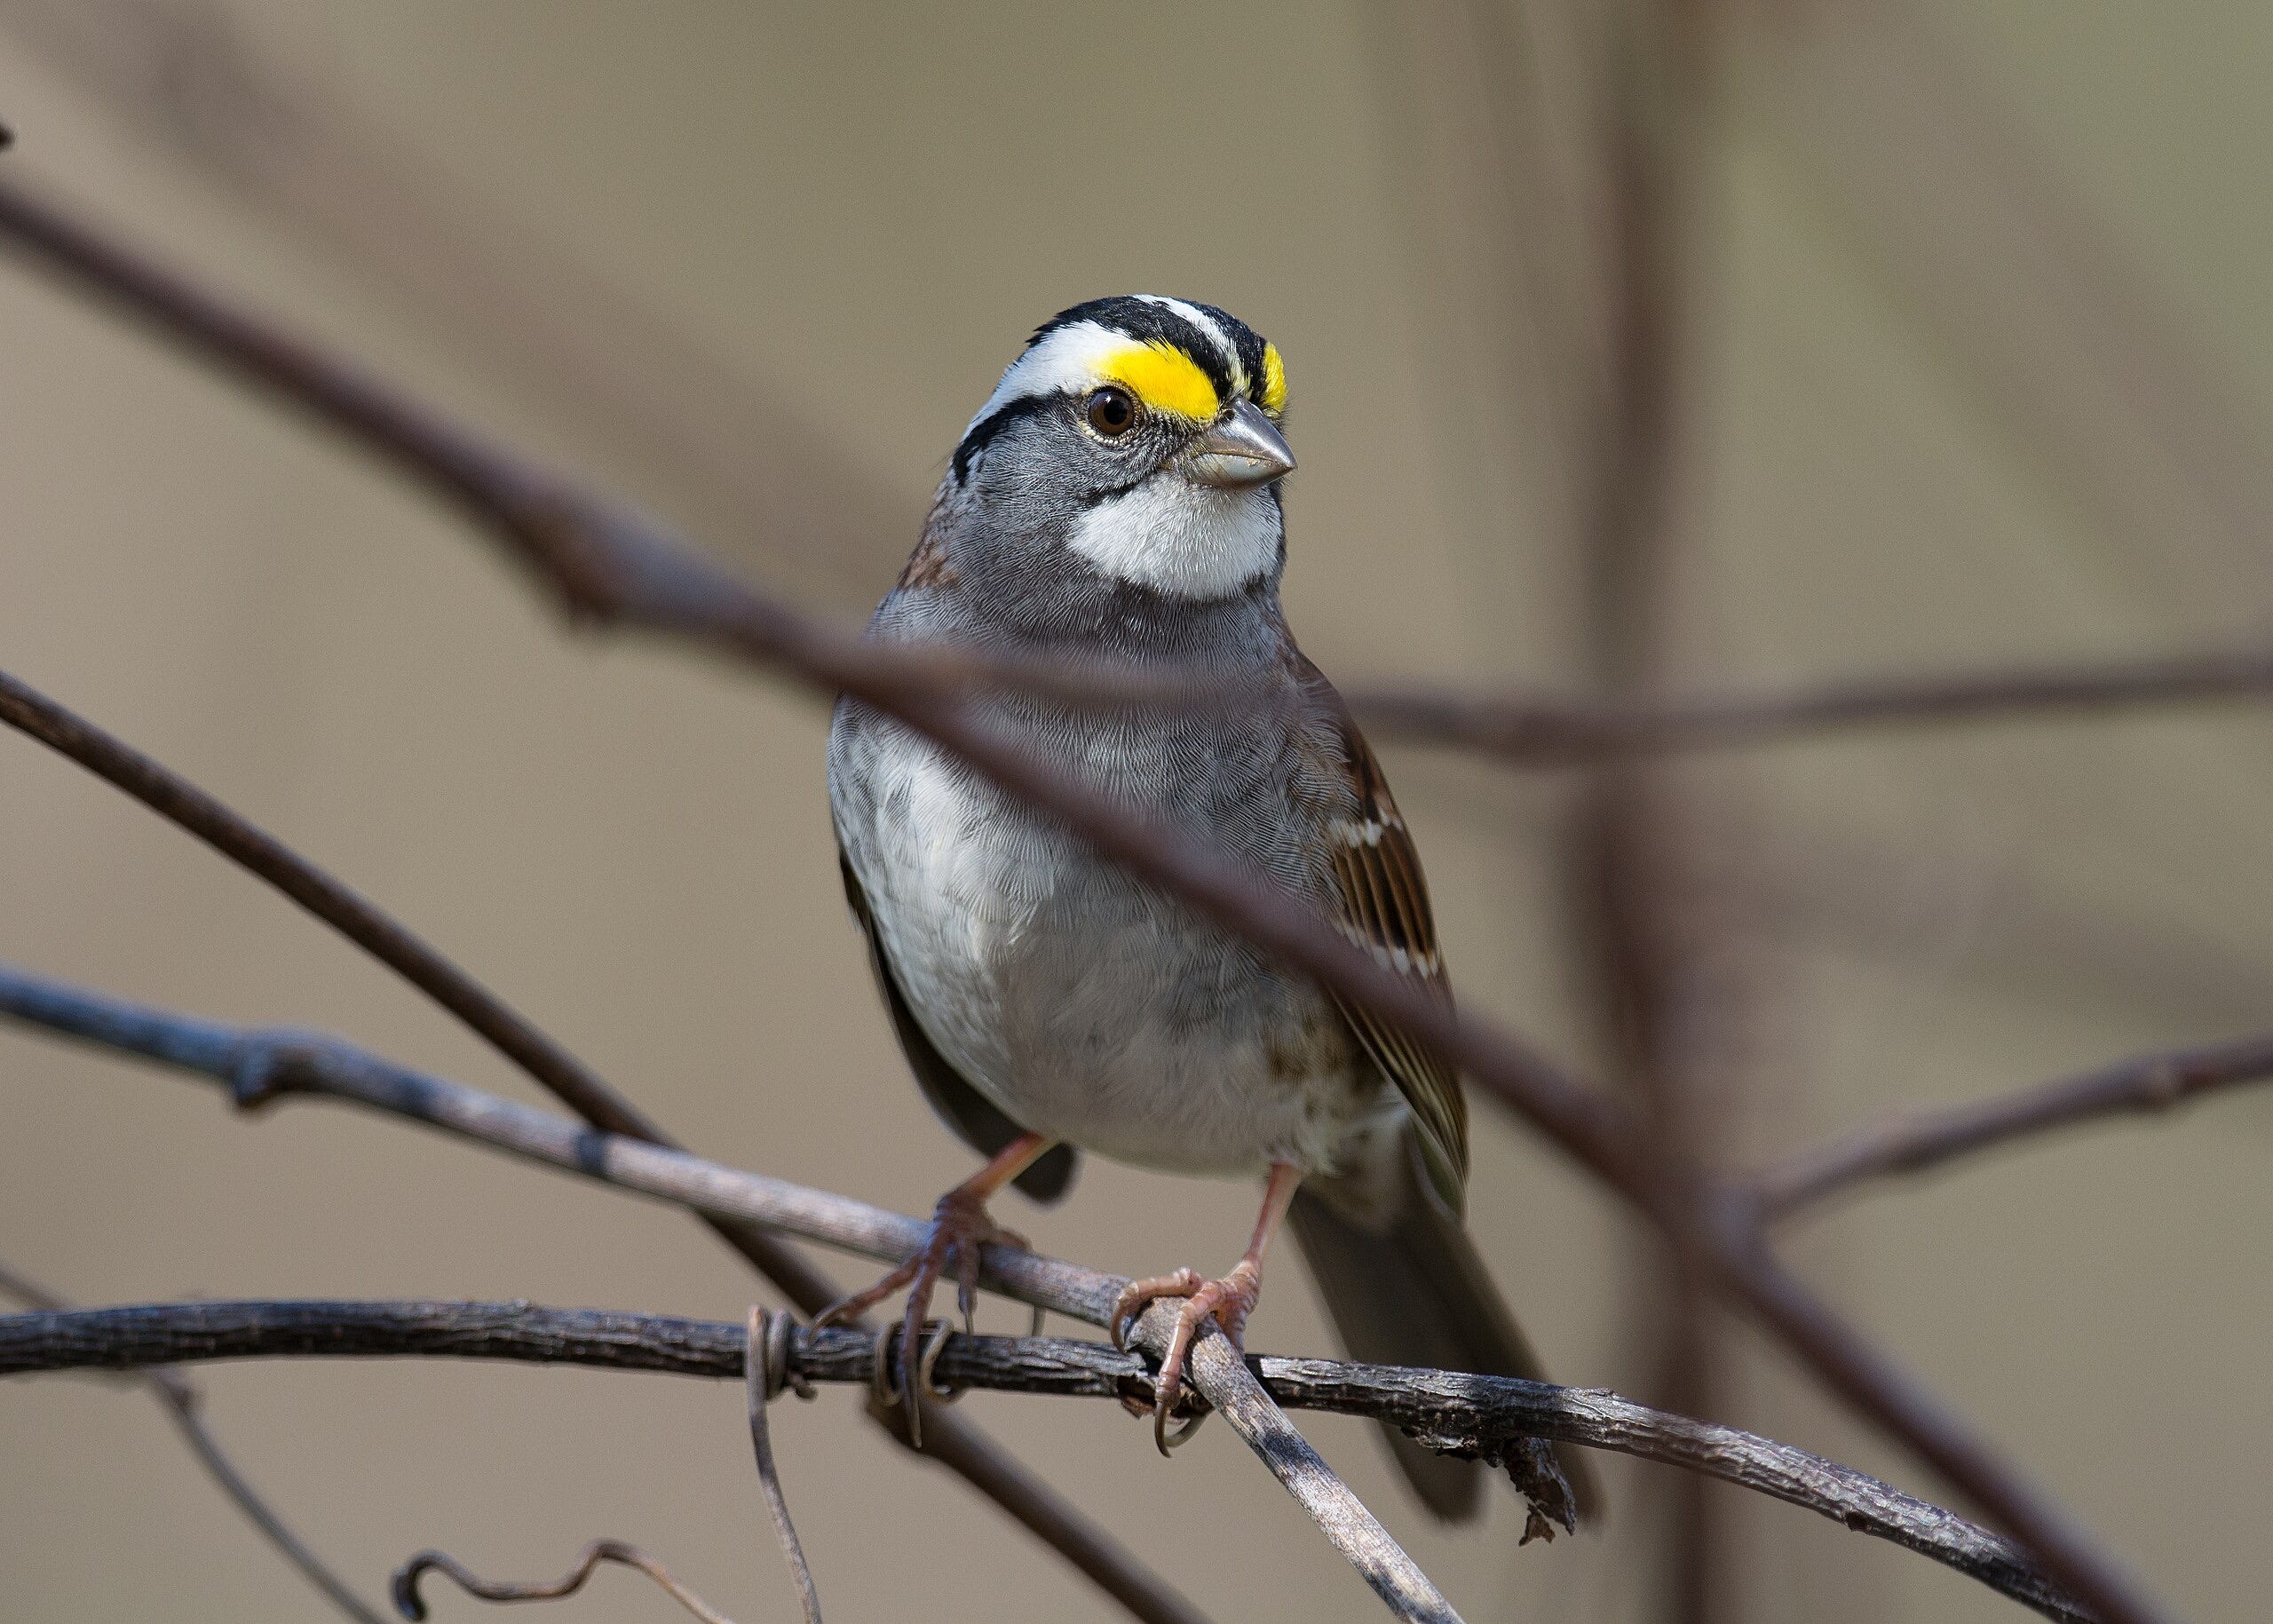
Lesson Two: Build a Reference Library, Not a Single Photo
Feet are especially tricky. It’s rare to find one photo that shows all the toes clearly, so I often mix references — one for the pose, another for feet, and a third for lighting. This mosaic approach gives far better results than forcing one imperfect image to do all the work.
Understanding anatomy helps: if you know how toes are arranged (The Foot) or the way the jaw hinges on the skull (The Bill), you can confidently rebuild what the photo hides.
✏️ Drawing Tip: Choose a poor-quality photo and list what’s missing. Then find supplementary images of the same species to fill those gaps. You’ll be amazed at how much you learn by comparing them side by side.
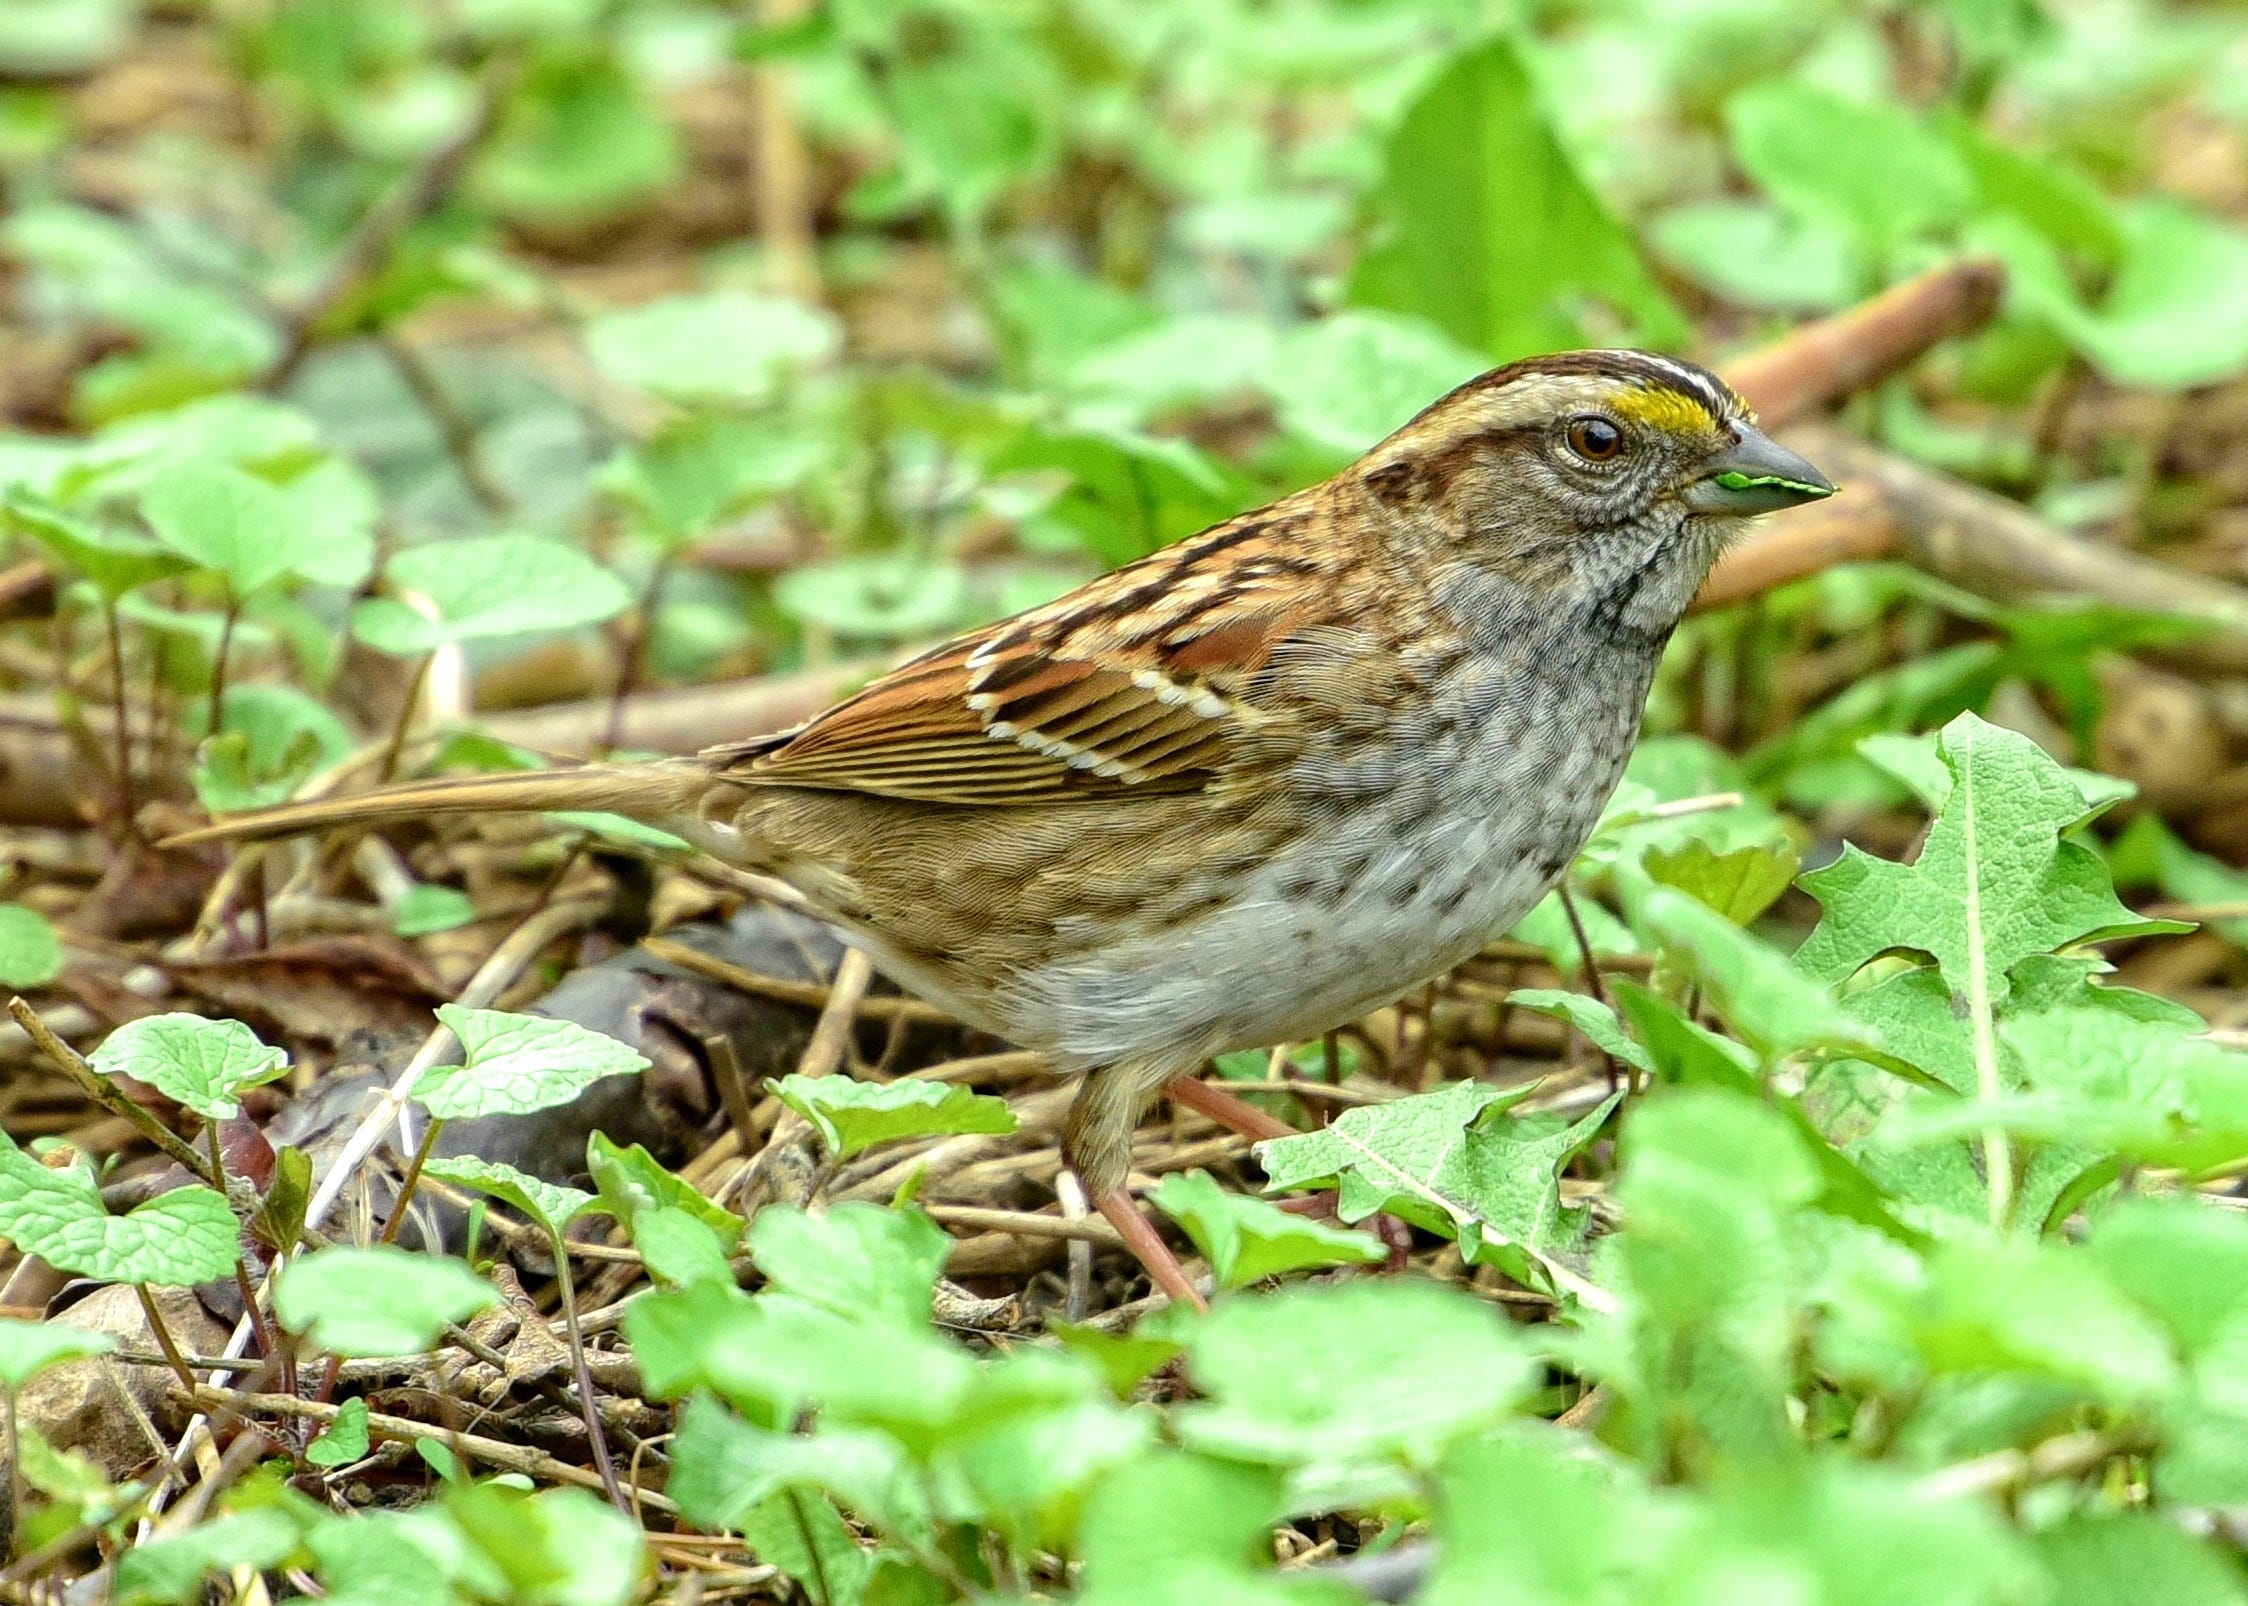
Lesson Three: Interpret with Confidence
Once you’ve built a solid foundation of artistic skill and bird knowledge, you can begin stepping away from the photo reference to add (or omit) details. For example, I like to show the pupil in a bird’s eye. In many species, the iris is so dark that the pupil isn’t visible but I know it’s there, and I prefer to give an indication of its presence.
Other ways to improvise: add or subtract shadows, use lost-and-found edges, or push the values to create interesting contrasts for clarity or mood.
What begins as improvisation soon becomes interpretation. The goal isn’t to copy what the camera caught but to translate what you understand into expressive bird art. Every choice, from shape design to edges, is a small act of creative seeing.
✨ Insider Bonus — Practical Training Routine Ahead
The section below walks you through a short exercise for training your eye beyond the photo.
If you’ve enjoyed this lesson, upgrade to become an Insider and get full access to my in-depth tutorials, anatomy series, and exercises like this one.
Keep reading with a 7-day free trial
Subscribe to The Painted Redstart to keep reading this post and get 7 days of free access to the full post archives.